Aus gegebenem Anlass fasse ich heute nochmal zusammen, wie man Nagios in der Version 4.2.4 mit dem Standard Webinterface installiert. Diese Version enthält die Patches für die Sicherheitslücken CVE-2016-9565 und CVE-2016-9566. Ich habe das ganze einmal schnell auf einer VM von DigitalOcean durchgespielt.
Wenn ihr noch Nagios 3 im Einsatz habt, solltet ihr so oder so mal ein Update auf Nagios 4 durchführen.
Download von Nagios
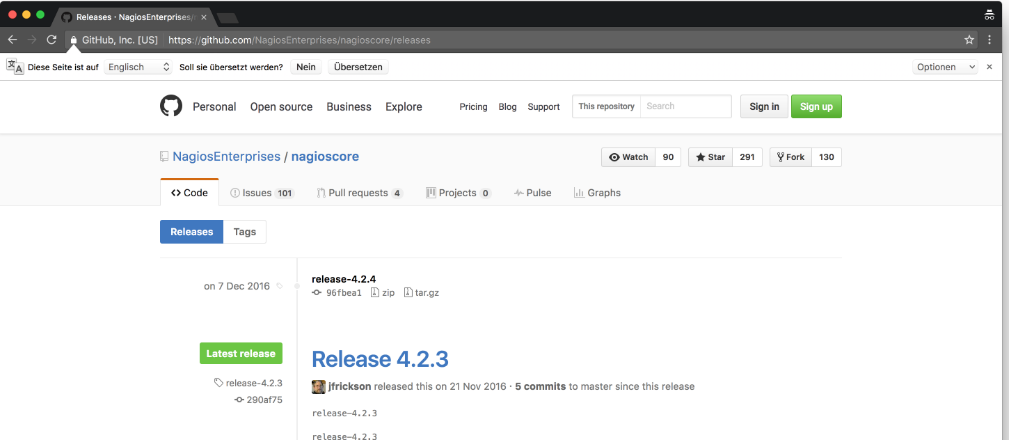
Bitte achtet beim Download von Nagios darauf, das ihr wirklich die Version 4.2.4 oder neuer verwendet. Aktuell ist der Download auf GitHub nicht als "Latest release" markiert, so das ich gleich einmal die falsche Version erwischt habe :/

Installation
Ich werde keine fertigen Pakete aus den Debian/Ubuntu Repositories nutzen oder ein PPA einbinden. Die manuelle Installation von Nagios ist kinderleicht und ihr könnt so neue Versionen einfach einmal ausprobieren...
In diesem Beispiel wird alles nach /opt/nagios/ installiert. So kann man später das System wieder leicht aufräumen.
addgroup --system nagios #System Gruppe für Nagios
adduser --system nagios  #System Benutzer für Nagios
adduser nagios nagios    #nagios Benutzer der Gruppe nagios hinzufügen

apt-get update
apt-get install build-essential libgd-dev libpng12-dev unzip apache2 apache2-utils libapache2-mod-php5 nagios-plugins
#unzip wird für die Nagios Installation benötigt
#Apache ist für das Webfrontend

#Download Nagios 4.2.4
wget https://github.com/NagiosEnterprises/nagioscore/archive/release-4.2.4.tar.gz
tar xfv release-4.2.4.tar.gz
cd nagioscore-release-4.2.4/
./configure --prefix=/opt/nagios --with-httpd-conf=/etc/apache2/conf-available/ --with-nagios-group=www-data
make all

#Eigentliche Nagios Installation
mkdir /opt/nagios
make install              # Installation des eigentlichen Nagios Cores
make install-commandmode  # Setzt die benötigten Berechtigungen
make install-init         # Erstellt das init-Skript in /etc/init.d/
make install-config       # Erstellt eine Nagios Beispiel Konfiguration (optional)
make install-webconf      # Erstellt die Apache Konfiguration in /etc/apache2/conf-available/ (optional)
make install-exfoliation  # Theme des Web Frontends (optional)

#Ich verwende die Plugins aus dem apt Repository
echo '$USER1$=/usr/lib/nagios/plugins' > /opt/nagios/etc/resource.cfg

#Passwort für den Login im Frontend setzen
htpasswd -c -b /opt/nagios/etc/htpasswd.users nagiosadmin superpasswort

#Konfiguration aktivieren und Nagios starten
a2enconf nagios
a2enmod cgi
service nagios start
service apache2 restart
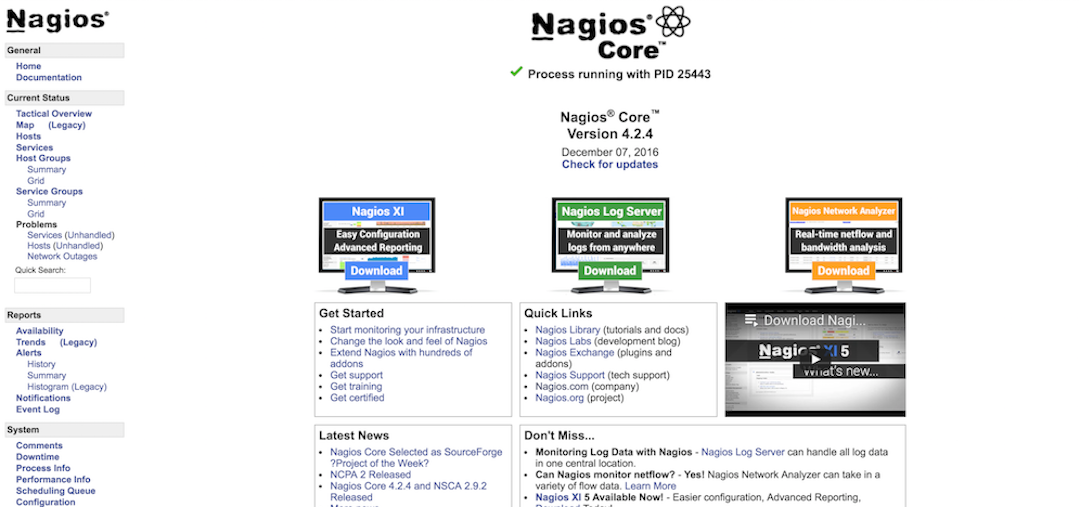
Jetzt habt ihr ein Nagios 4.2.4 am laufen und könnt euch im Web Frontend anmelden.
In meinem Beispiel mit:
Benutzername: nagiosadmin
Passwort: superpasswort
Weitere Benutzer und die Berechtigungen der Benutzer könnt ihr in der Datei /opt/nagios/etc/cgi.cfg einstellen.
Das Frontend erreicht ihr über euren Browser http://xxx.xxx.xxx.xxx/nagios:

Version prüfen über die Kommandozeile
Wenn ihr Nagios ohne ein Frontend nutzen möchtet, könnt ihr die Version auch über die Kommandozeile prüfen.
root@ubuntu-512mb-fra1-01:~# /opt/nagios/bin/nagios --version

Nagios Core 4.2.4
Copyright (c) 2009-present Nagios Core Development Team and Community Contributors
Copyright (c) 1999-2009 Ethan Galstad
Last Modified: 12-07-2016
License: GPL
Nagios V-Shell ausprobiert
Durch Zufall bin ich nochmal über das "Nagios V-Shell" Projekt gestolpert und wollte das mal ausprobieren. Für den produktiven Einsatz kann ich das allerdings nicht empfehlen, da der letzte Commit auf GitHub vom 20.06.2015 ist.
Des weiteren verlinken viele Aktionen und Menüeinträge einfach wieder auf das Standard Nagios Interface.
Installation
Zuerst einmal müsst ihr alle Daten von GitHub runterladen:
apt-get install git
git clone https://github.com/NagiosEnterprises/nagiosvshell
cd nagiosvshell/
git checkout 2.x
Jetzt müsst ihr die Datei config.php für eure Konfiguration anpassen. Wenn ihr alles wie in meinem Beispiel gemacht habt, sieht die Konfiguration wie folgt aus:
$custom = array(
        'targetdir'       => '/opt/nagios/vshell2',
        'apacheconfdir'   => '/etc/apache2/sites-enabled',
        'apacheconffile'  => 'vshell2.conf',
        'apacheuser'      => 'www-data',
        'apachegroup'     => 'www-data',
        'etc_conf'        => 'vshell2.conf',
        'htpasswd_file'   => '/opt/nagios/etc/htpasswd.users',
        # See config/vshell.conf for explanations of each value
        'vshell_baseurl'  => 'vshell2',
        'TTL'             => '90',
        'update_interval' => '90',
        'nagios_coreurl'  => 'nagios',
        'lang'            => 'de_DE',
);
Jetzt könnt ihr mit dem Befehl ./instal.php die eigentliche Installation ausführen.
Zum Abschluss müsst ihr noch in der Datei /etc/vshell2.conf die folgenden Werte eintragen:
; Full filesystem path to the Nagios status file
STATUSFILE = "/opt/nagios/var/status.dat"

; Full filesystem path to the Nagios object cache file
OBJECTSFILE = "/opt/nagios/var/objects.cache"

; Full filesystem path to the Nagios CGI permissions configuration file
CGICFG = "/opt/nagios/etc/cgi.cfg"

; Full filesystem path to the Nagios command pipe
NAGCMD = "/opt/nagios/var/rw/nagios.cmd"

; Full filesystem path to the Nagios lock file (when Nagios is running)
NAGLOCK = "/opt/nagios/var/nagios.lock"
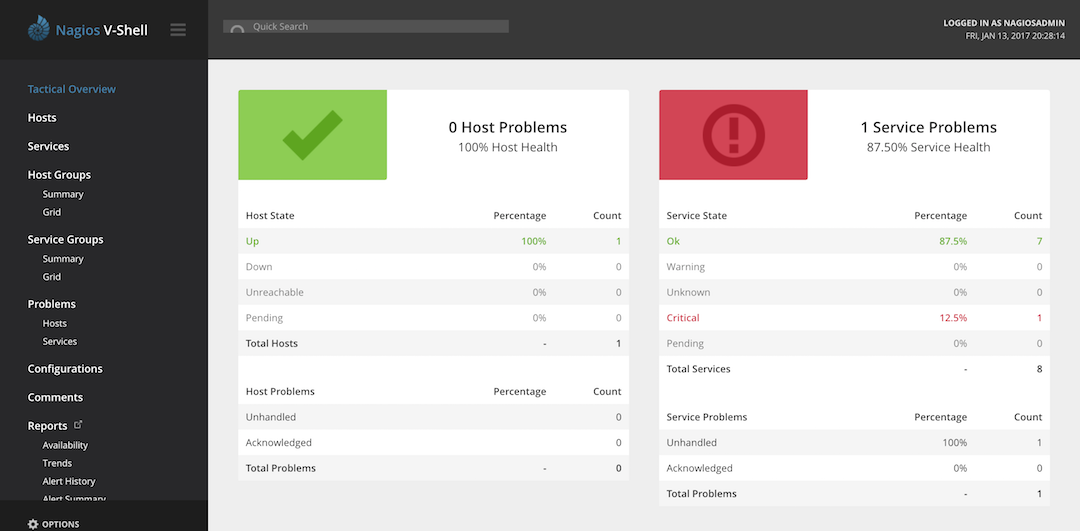
Das Frontend erreicht ihr jetzt über euren Browser http://xxx.xxx.xxx.xxx/vshell2:

Nutzt du die CGIs?
Nein! Ich persönlich installiere nie Nagios mit dem Web Interface (also den CGI Skripten) sondern benutze andere Oberflächen für Nagios.